


64% faster
documents
complete
documents
complete
more loans processed
with same team
to implement
financial documents
collected since 2017

"The amount of time that an employee is required to spend on a case has been reduced by more than eight times."

“Sending reminder emails, sifting through attachments, and chasing files distracts us from our core competencies. Using FileInvite eliminates this. It lets us focus on bringing insights and value to our clients.”

“Sometimes there is an opportunity to work smarter rather than harder. FileInvite has delivered massive efficiency gains for us. It’s been a huge time saving that we never would have been able to achieve without it."
Don't worry, all data will be retained for a period of 90 days before deletion, or upon request. All the files collected by you during your trial will continue to be available in your integrated cloud storage service, if you set it up during the trial.
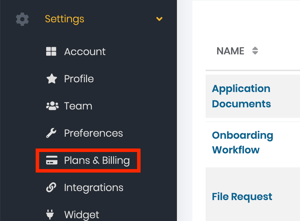
FileInvite plans start from $29/month for our Lite plan. You can find our full pricing table on our pricing page, and payment options under Settings > Plans & Billing on the left sidebar of the FileInvite app.
Of course, you can manage your plan in the app or contact sales. We recommend starting on the Pro or Multi plan in most cases, then upgrading if you require extra invites or functionality. However, the Pro plan is sufficient for most small businesses or teams.
The Invite is the email that is sent out to one or more contacts. With each 'Invite' you send, you can request as many different files, documents and/or digital signatures as you need.